The 1.4.0.0 version of cablabel S3 Pro provides the possibility to upload the content of a database on a memory media (SD card, USB memory stick, internal memory IFFS…), to use it in standalone mode.
Attention: this feature is only available starting from X4 CPU printers.

Before to perform this, you first have to create a label with a connection type of Access, Excel or OLE DB and a datasource used by the objects of the label, as if you want to print it from the software.
As an example, we will start from the label “printer_parts.stc” and its database “Devices.mdb”, available in the samples folder provided with cablabel S3 Pro.

In this case, three steps are then necessary, in order to configure this label for the standalone mode:
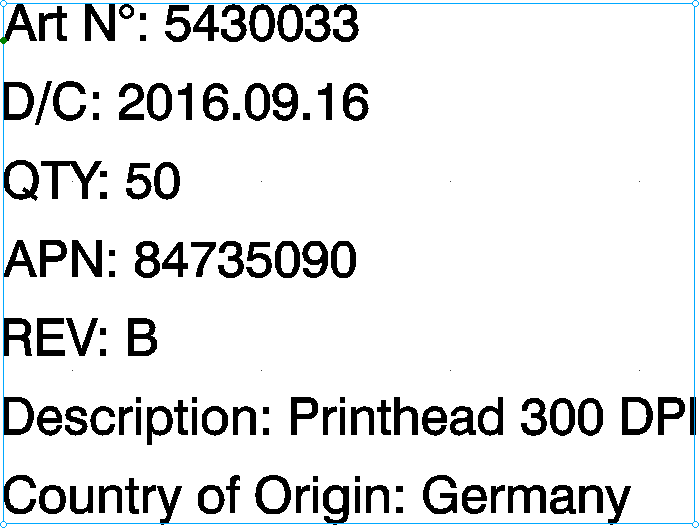
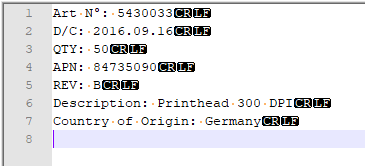
- Create of a prompt field of standalone type, which will ask here for the article reference directly on the printer.
The text object resulting from this prompt field can either be deleted or replace the original text linked to the article reference of the datasource.

- Change the query for the data used by the objects of the label and add a selection filter (SQL keyword WHERE) on the article reference.
For this select in the list the previously created prompt field, to extract only the data matching to the entry in standalone mode.

- Create a new query to specify all the data to be transferred in standalone mode.
For this you need just to select the same fields from the database, as those used in the first query, but this time without the filter.
Notice: the data from all the datasources created in the label are be transferred in standalone mode. But as in this case the first query is now filtered on a record, it is necessary to create this second query to select all the data to be transferred in standalone mode.

Finally save the label to a memory media of the printer as usually and check in addition the option to upload the data in standalone mode.

Good to know: the data transferred in standalone mode are saved in an SQLite file. This data file can for example be edited with the “DB Browser for SQLite” software.

Download example file for cablabel S3 Pro: